retouching

Why Landscapes are important.

I wanted to take a moment to talk about Landscape photography, which you will notice is not in my portfolio...sort of. I think one of the things you need in photography is an outlet, something you like to do that you may not end up making money off of, something that has no clients and no rules, that you do just for you. In my case that's Landscape Photography. When I go out to shoot landscapes I get to do whatever I want, and I don't have to think about what other people will want out of the photo I am taking. Sometimes people like them, and that's great, but that's not the point.

There is one more benefit to Landscape Photography that I wanted to mention for all of you photographers out there who want to do composite imagery...having landscapes in your library is VERY helpful! A lot of the time I don't actually need to go anywhere to shoot a background for an image, I already have it sitting on my computer.

Below are some examples of my landscapes...I highly recommend finding something you love to do that doesn't have anything to do with clients or work and implement it into your work flow. Until next time, be awesome!

Pathing and Quick Select Part 2 - Edges

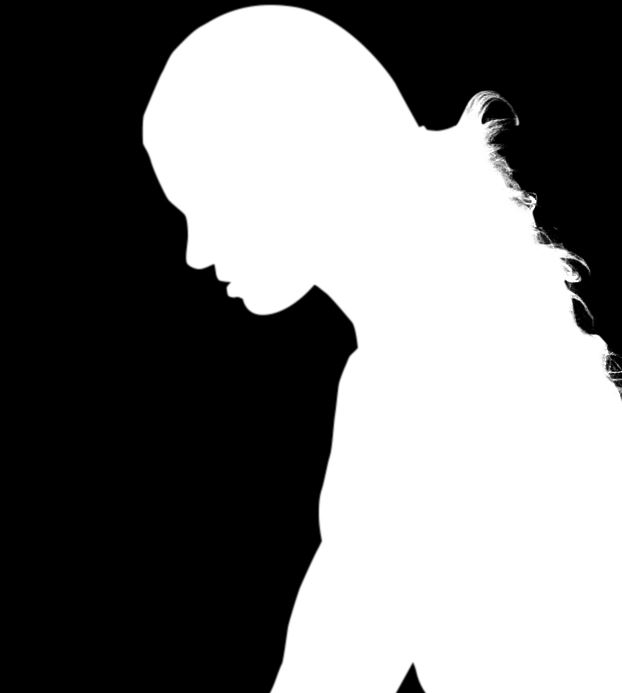
So this is where the rubber meets the road, literally. If you spend all the time in the world pathing and using quick select tools but the edges aren't right your picture will look weird. Sometimes people won't even be able to tell you what's wrong, it will just "feel" wrong. Here's a couple cool tricks to get those edges looking snazzy!

First you need to turn your path into a mask which you can do a couple of ways. If your path is currently active you can just hit Cmnd or Ctrl Enter to turn it into a selection. If your path is not active then you can just hold down Cmnd or Ctrl on your keyboard and click the path with your mouse, either way works, but now your path is a selection. With your new selection active hit Shift + F6 and feather your edge by .5 pixels (you can also find it in the dropdown menu Select > Modify > Feather). Once you've feathered your selection click the create new layer mask icon and you will have your initial mask.

I am going to pause really quick and tell you that I came up with .5 pixels for my initial mask based on personal experience, no feather at all looks too hard and 1 pixel can make some edges too soft depending on the subject...play around and find the perfect setting for you!

Wouldn't it be nice it that's all you needed to do after an hour of pathing? I do to, but it's not! This is where a lot of people go wrong, they just leave the person/object with hard edges and continue on. Sometimes this will work, but I have found that those occasions are rare. Granted, you will leave some of the edges hard, but you'll want to make visual decisions for the rest.

Look at your subject and see if it feels correct. I always have another person look at it as well, sometimes I am just too married to the picture to be objective. Now, if you have some edges that look hard here's what you do:

1. Click on your mask so that it's selected

2. Use the lasso tool to circle the edge that you think is too hard

3. Feather your selection by 25 pixels (again you will want to play with this). This step is to make sure your new edge will blend into the old edge.

4. Click Filter > Blur > Gaussian Blur

This is a really cool way for you to see what you're doing to the mask, believe it or not the feather and Gaussian blur use the same technique but the Gaussian Blur allows you to see what you're doing! TIP: If you don't see what you're doing make sure the "Preview" box is checked.  Here is a before and after on a mask so you can see what it should look like!

BEFORE

BEFORE

AFTER

AFTER

You can see the blur just below the neck, it is subtle, and it should be! It is the subtle touches that mean the most! I am working on some video tutorials for the future so stay tuned and I'll be releasing new images, series and behind the scenes soon! Until next time...be awesome!

Pathing and Quick Select - Part 1

I am going to spend the next couple of blogs talking about pathing, quick selection, refine edge and combining these tools. In this particular blog I am going to give a few quick pointers about pathing, next time we'll talk about feathering your edges so they look realistic and then we'll close with quick selection and how to combine them. I am going to assume you know how to use the pen tool and the quick select tool for this series...if you don't you should spend time learning them, there are plenty of tutorials!

One of the questions I've heard is "which should you use, quick select or pen tool?" I would say you need to know how to use both, and know how to combine them. I think it also depends on how quickly you need to finish a project and if you've thought about it before hand. The pen tool is great in that it can create perfect curves/circles. Quick select is awesome for things like hair and edges with high contrast.

I would say almost every image I finish has pathing in it (the pen tool), in fact, pretty much anything with a smooth edge I will path out. It is also VERY essential if you are retouching products, and it is important that you are accurate! When you are retouching a product you need to path out EVERYTHING, for instance, if it's a watch you need to path out: whole watch, strap only, bezel, crown, face, metal, glass, etc. You might be wondering how accurate you need to be, to that I would say you should be within 1 pixel of the edge in most places.

Here are some quick tips for pathing:

  1. Get close! I usually path around 200-300% zoom
  2. Test it, use a curves layer with your path to see if your path is accurate.
    1. With your path selected create a curves layer and adjust is drastically, you shouldn't see areas of the background being adjusted, if you do, adjust your path.
  3. Less is more, the less points you can use, the smoother your path will be

Below is an example of a paint drip that I was working on for a composite, the grey line is my path. You can see that it sits right along the edge and I will feather .5 pixels initially to blend it a little better. Also note that it only took 3 points to path out the bottom of the drop, it's essentially a circle and you don't need more than 4 points to make a circle.

Check out some examples of my paths below, I think paths by themselves can be pretty rad!! In the next blog I'll talk about feathering paths to create accurate and realistic edges...stay tuned and be awesome!

Bike_Photo_Path
Bike_Photo_Path-2
Hockey_Photo_Path