lighting

See the light.

I have had a number of people ask me if I would be putting tutorials up on my page, and that is definitely in the works for 2016, but I think there is a fundamental problem with a lot of people trying to break into composite photography, and that's lighting. Sometimes I think our digital crazed culture has become so reliant on the term "fix it in post" that we forget the little things that make photography special.

When you look at some of the great photographers before us, like Henri Cartier-Bresson and Ansel Adams, you realize that they saw light, it didn't just happen to them and it most certainly wasn't luck. You might be asking, what do two guys who shot mostly black and white film have to do with a digital composite photographer in 2015?! To that I would say, everything! I have had multiple people come to me and ask how I make my composite images look so real, and yes, I use Photoshop a lot, but Photoshop can only do so much. I think most of what makes composite images look real is lighting. More specifically being able to identify lighting and re-create it.

So, what can you do? How can you start to learn about lighting? Well the first thing you can do is go outside! Look at shadows, haze, highlights, soft light, hard light, night lights, natural light, artificial light, fog, etc. and study them. The more you know about what light looks like the better. That's the fun part, I am still obsessed with shadows and I take pictures of them all the time...it's a little weird. I can't stop it though, I think light is incredible and beautiful, I think at the heart of what we do is the fact that photographers love light.

What do you do after that? You learn how to make it. First, learn how to make light and shadows in a studio. This part can be harder if you don't have access to lights, but it most certainly can be done on a budget. This is a critical step if you want to be a composite photographer because your ability to take an object and put it seamlessly into a background is what will set you apart from the competition. There are a ton of tutorials that you can look at online, like kelbyone.com, that will teach you lighting, but make sure you don't just watch videos, go do it!

Finally, you need to learn how to make lighting and shadows in Photoshop. I think this is where things get a little backwards for a lot of people. I can't tell you how many people have said the know a ton about Photoshop and still can't make their images look right. Honestly, if they really do know a ton about Photoshop (I have my suspicions), it's probably the lighting. I think if you just try to learn Photoshop without learning lighting you are doing yourself a disservice, and it makes things very frustrating in the beginning. When you're ready though, there are a ton of websites and resources to help you learn about lighting in Photoshop (Phlearn, Lynda, Kelbyone, Youtube, etc). 

I might be crazy, but I think you need to know this stuff to be a professional photographer, not just have a nice camera. I mean, having a nice camera is great and all, but I would rather hire a photographer with a cheaper camera who knows what they're doing then one with a super expensive camera who doesn't have a clue.

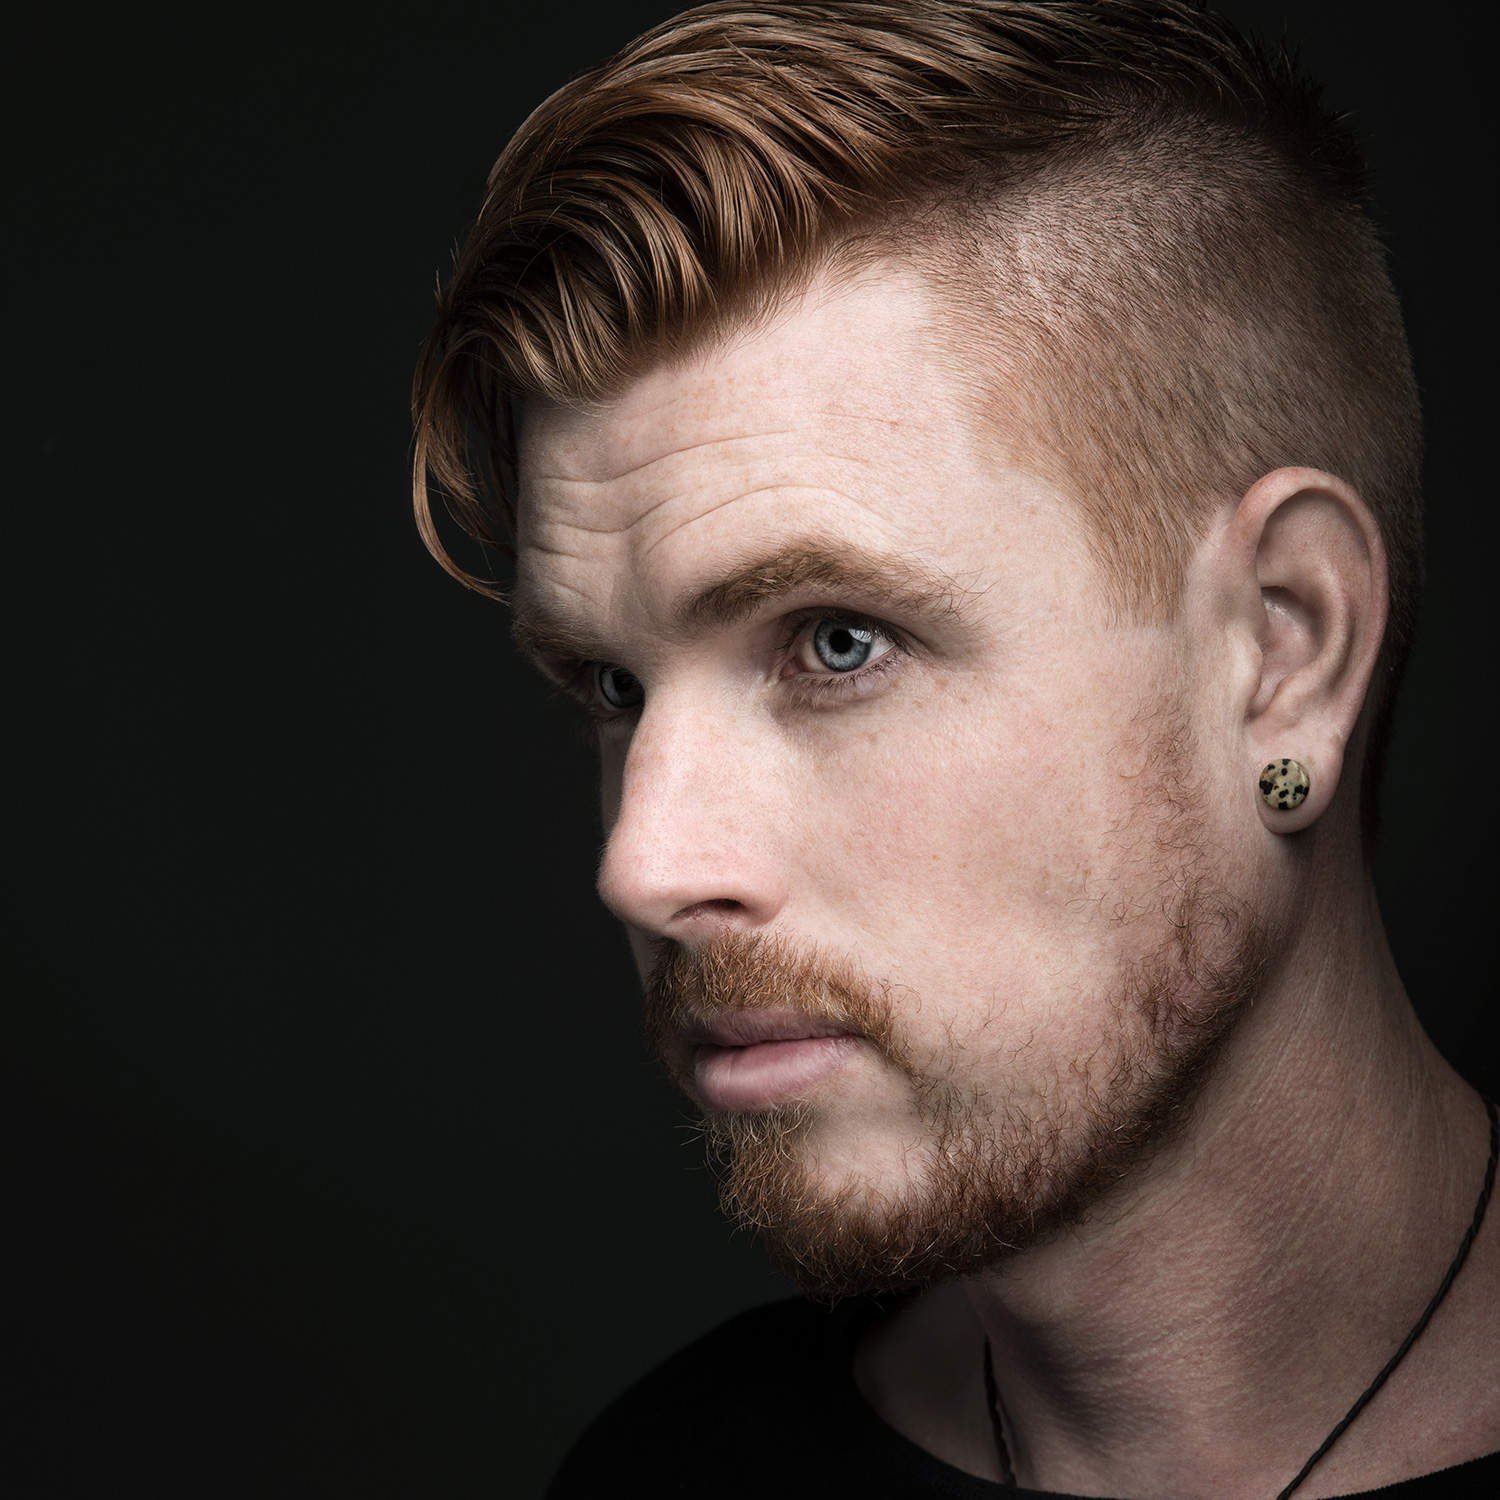
I just recently went in the studio and did test lighting for a shoot that I am getting ready for and to learn more about lighting, because you never know it all! Below are some of the shots that I took from new lighting set ups I am working on, and a little bts video of me running around taking pictures of myself! Until next time, be awesome!


3 Things

When I first started photography I wasn't good...and I think that's the case with a lot of people.  However, there were a few things that really launched me in a different direction and I wanted to share those with you.

1. Shoot in RAW

If you're just getting started in photography you probably don't even know what I'm talking about, and no, it's not a vegan diet. RAW is a file format that your camera puts out instead of a JPEG. You can usually do both, but I would recommend getting used to just shooting RAW. If you aren't shooting in RAW now I would encourage you to learn not only what it is, but also how to work with them. In a nutshell RAW images contain a MASSIVE amount of information that JPEGS throw away, and it enables you to make larger changes later on.

I remember when my good friend Zak took me out to shoot about 7 years ago and he asked me if I shot in RAW, I looked at him like he was speaking a different language. It was on that day that I switched over and then learned what the heck he was talking about, it was the beginning of the journey for me.

2. Start Learning Lighting

It all started with a reflector. I think it was about 6 years or so ago that I bought my first reflector, and I was blown away! I thought most certainly that my images would be on the cover of Vogue any day (not even close!). Once I started getting more serious I bought an off-camera flash and have now used most lights on the market, from Profoto to Elinchrom and Broncolor to Alien Bees. I think lighting and use of lighting is one of the main things that separates the pro's from the amateurs. So start with a reflector, learn how to use it, and then the skies the limit!

3. Learn How to Edit Your Images

I use Photoshop, a lot. In fact I have even retouched for massive companies like Ariat, Tazo, Coca-Cola and more because I like it so much. Obviously you don't need to become a retoucher to edit your own photos, but I think a lot of people skip this step because cameras are digital now. If you are thinking about becoming a professional photographer you need to at least know the basics of editing photos, just like you would need to have known the basics of how to use a dark room back in the day.

If you're looking at all these things and feeling a little overwhelmed, there are lots of great resources to get you started. Places like Lynda.com, Phlearn.com, and Kelbyone.com are just a few that I've seen that offer great tutorials on everything from using your camera, lighting and handling files. I learned most of the foundations from Lynda.com, then I mixed that with school, a lot of terrible photos, books, and internships, that is how I became what I am today.

Finally I wanted to say this; when you're new it's ok to suck, but in order to grow past that you'll need to invest time to keep growing...then one day it will all click, and you'll get it! So check out this video for inspiration and then go be awesome!

I think it was in the time of spring 2012, when I came across David Shiyang Liu's lovely piece of work about Ira Glass. It was the most inspiring and motivating video I had ever seen in my life. I watched it over and over again, listened to Ira Glass' voice, and told myself, that I am not the only person who is constantly disappointed about the gap between one's taste and one's skills. Later in 2012, I decided to do my own filmed version of Ira's interview - using my own language to tell his message. It took me about a year from concept to upload. I made it for myself and for anybody who is in doubt about his/her creative career. I also think that Ira Glass' message isn't only limited to the creative industry. It can be applied to everyone who starts out in a new environment and is willing to improve. THANK YOU Ira Glass, whom I've never met in real life, but who had such a big influence on my development. Thank you for telling beginners what nobody else does. David Shiyang Liu for the video that inspired me to start the project. You all should watch his awesome kineticTypo-version here: http://vimeo.com/24715531 The people from current.tv who originally recorded the interview with Ira Glass. See the relevant part here: http://www.youtube.com/watch?v=BI23U7U2aUY The people from Magic Lantern who gave DSLR videography a new dimension (I chose this project to be a test run with the RAW plugin)! Steven Sasseville for painting the "taste" painting for me. Pedro Sousa for his advice and working his ass off at the "creative work" chalkboard. Wolfgang Kraus for letting me borrow his sound equipment. Kai Löhnert for working out on his birthday in the "fight" take. Wolfgang Hendrik Schnabel for giving me the museum-like atmosphere and his silhouette in the painting takes. Hermiyas Ötztürk for his hairy "good enough" hand. Orange Hive Studio for light equipment and location. Mima and Heinz Sax-Schmitz for the location of the "ambitions" take and finding me the "finish 1 story" typewriter. Joyce Chen (https://vimeo.com/clownmori), Soufiane Mabrouki (http://vimeo.com/user21466567), Damien Tsenkoff (https://www.behance.net/damtsnkff), Nikita Samutin (www.baselinedesign.ru) and Andrej Mikula (http://amara.org/en/profiles/profile/65015/) for taking the time and patience to create Chinese, Arabic, French, Russian and Slovak subtitles and dissolving language barriers to make even more people understand Ira's words. A SPECIAL THANK YOU Solveig Gold for being the most patient and supporting person in my life. She appears in a lot of scenes in this video. Jutta and Uwe Sax for several pieces of equipment and their support.


Inked

One of the things I love about composite photography is that you have to shoot a lot of different things to get one picture, and in this case one of the pieces was ink. My client needed this for a specific composite and rather than buy it from someone else we just did it ourselves!

I was using higher speed flash (top light with a bounce umbrella and side light with a shoot through super umbrella)  to freeze the motion, and we were dropping the ink into an aquarium. We used a black felt background to kill all the light....and this is the result.

aaron_anderson_photography_ink_drop
aaron_anderson_photography_ink_drop_2
aaron_anderson_photography_ink_drop_3
aaron_anderson_photography_ink_drop_4
aaron_anderson_photo_ink_composite

That's all for now, sometimes I just like to show people pretty stuff! Stay tuned for more from this shoot in the future and until next time...be awesome!